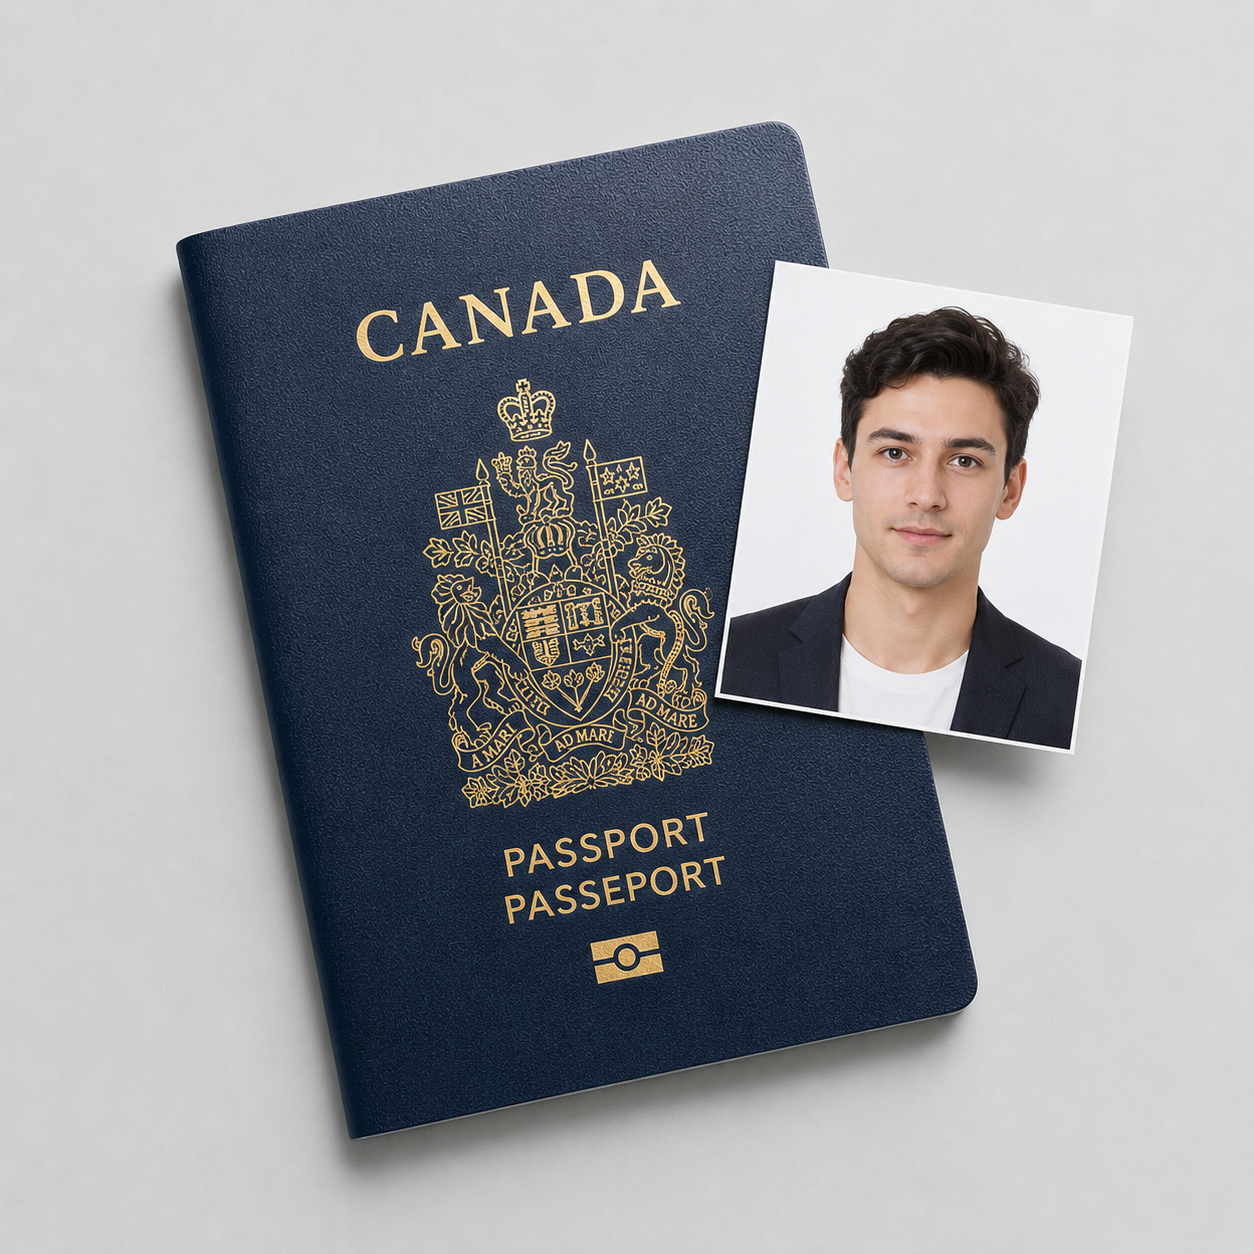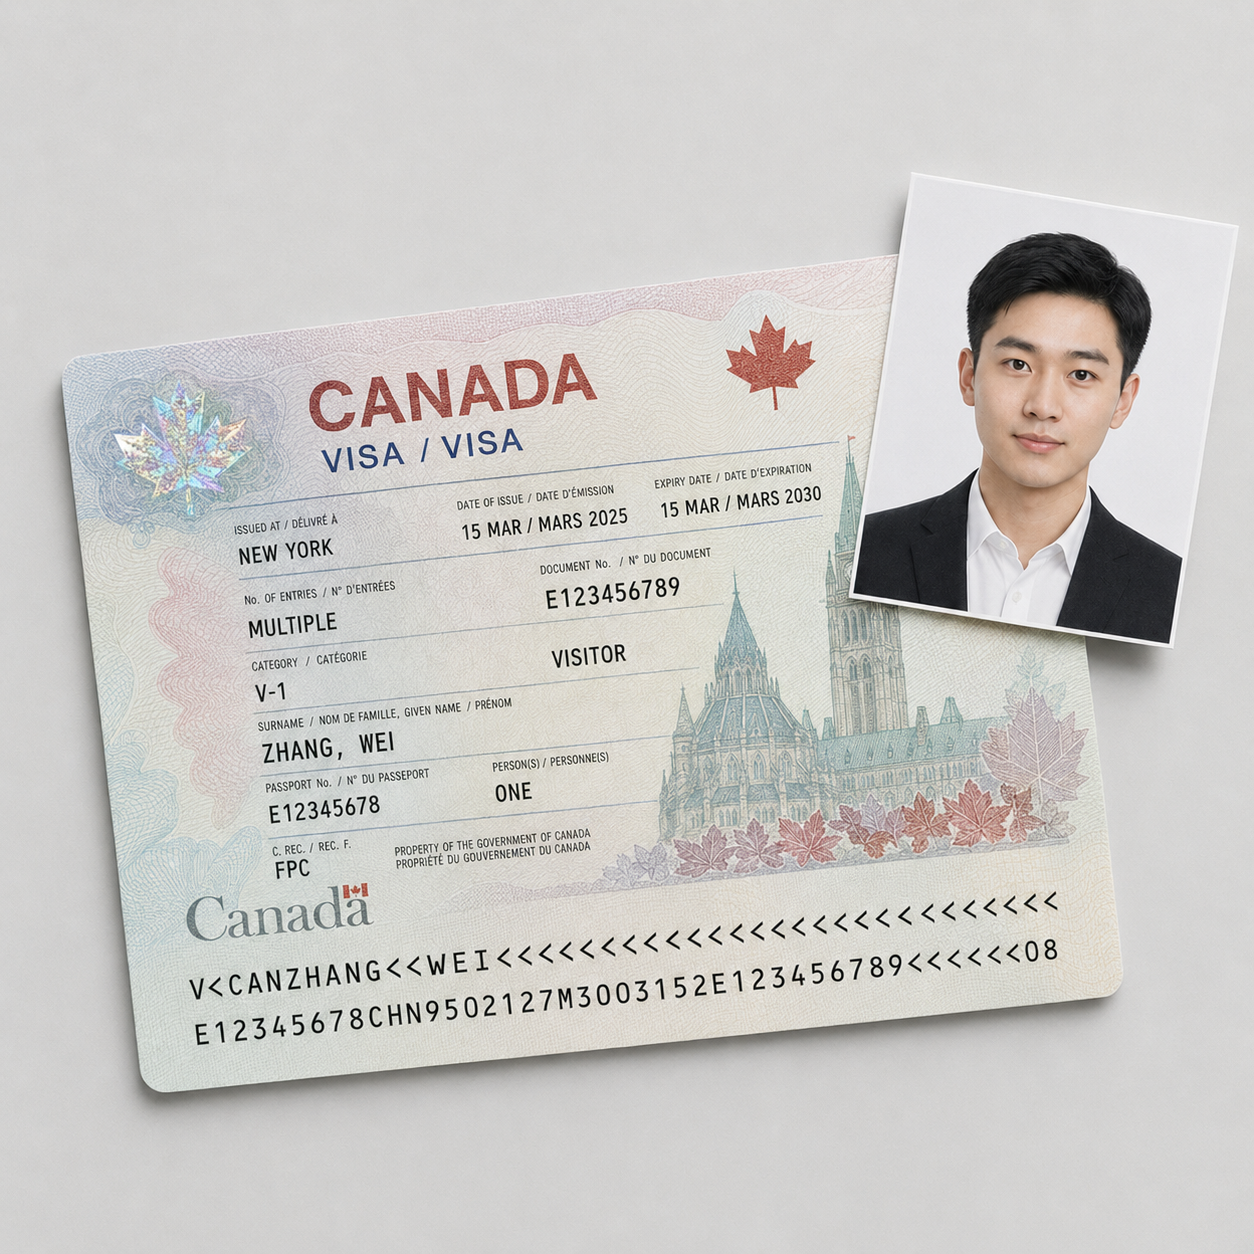
One spec, three documents
IRCC uses a single photo specification for all temporary-resident applications. A work permit, a study permit, and a visitor visa (TRV) take the identical photo. If you have already done a Canadian study-permit or visitor photo, you know this spec. That also means it is reusable: shoot it once correctly and it works across all three.
What IRCC requires:
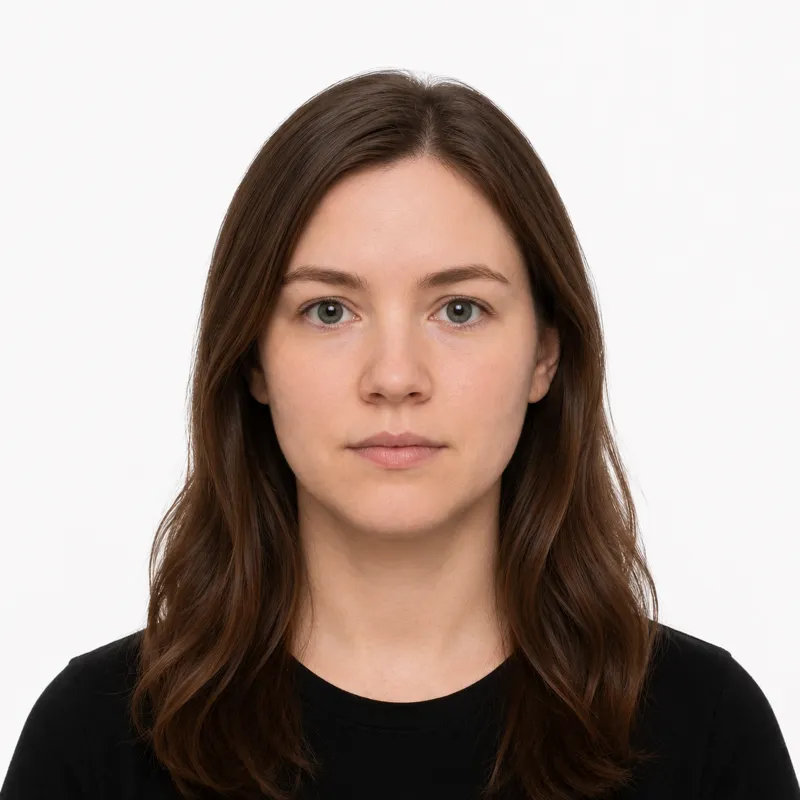
- Frame: at least 35 mm × 45 mm (1 3/8” × 1 3/4”). A larger frame is fine as long as the head size is correct.
- Head size: 31–36 mm (1 1/4” to 1 7/16”) from chin to crown.
- Background: plain white or light-coloured, clear and well defined.
- Pose: full front view, face centred and square to the camera, with the top of the shoulders showing.
- Expression: neutral, mouth closed, neither frowning nor smiling.
- Colour: colour OR black and white. Both are accepted, which is unusual. Most countries require colour.
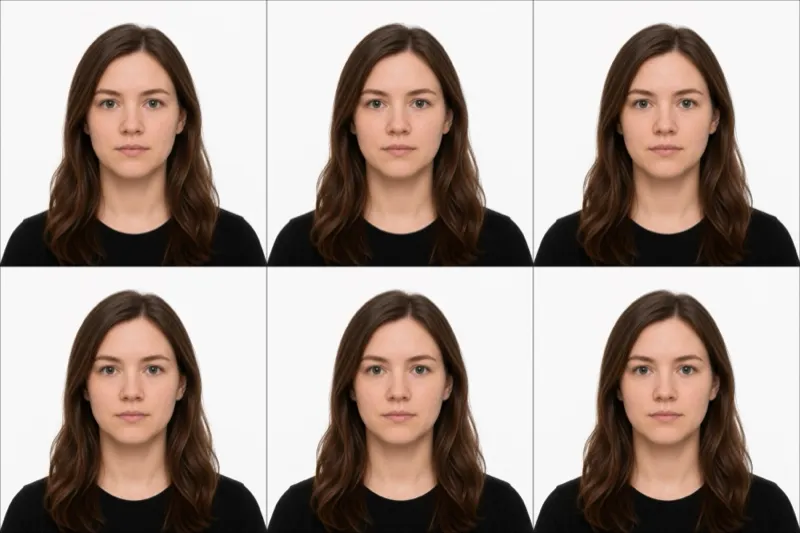
- Recency: taken within the last 6 months. You need two identical photos.
- Glasses: clear prescription glasses are allowed if there is no glare and your eyes stay visible. No tinted lenses or sunglasses.
One warning before you start: this is not the 50 mm × 70 mm photo used for a PR card or citizenship. That is a different document at a different size. The work permit photo is 35 mm × 45 mm.
How to shoot it
A current phone camera is good enough. Photos fail on framing and lighting, not megapixels. Set it up like this:
- Stand about 1.5 to 2 metres in front of a plain white or light wall, with enough gap behind you that you cast no shadow on it.
- Light yourself from the front, ideally from a window. Avoid overhead light, which drops shadows under the eyes and chin.
- Have someone else take the shot. Selfies sit too close and distort your face.
- Face the camera squarely, shoulders level, neutral expression, mouth closed, both eyes open and visible.
- Crop so the chin-to-crown height lands in the 31–36 mm range inside a 35 × 45 mm frame, with the face centred. Or upload the shot to a tool that crops and checks the head size against the IRCC spec for you.
Because black and white is accepted, a slightly flat or low-saturation shot will not sink your application the way it would for a US passport. Framing and head size are still the parts you have to get right.
Why photos get rejected
The IRCC spec bounces a predictable set of mistakes. Each one, with the fix:
- Wrong size confusion: submitting a 50 × 70 mm PR-card photo. Re-shoot at the 35 × 45 mm temporary-resident size.
- Head out of range: chin-to-crown smaller than 31 mm or larger than 36 mm. Re-crop, or re-shoot from a corrected distance.
- Busy or dark background: the wall must read as plain white or light and well defined. Move to a cleaner wall or replace the background.
- Shadows: on the face or behind the head. Step away from the wall and light yourself from the front.
- Expression off: a smile, open mouth, or visible teeth. Reset to a flat, neutral face with the mouth closed.
- Glasses glare: lenses that reflect or hide the eyes. Angle to kill the glare, or take the glasses off.
- Stale photo: older than 6 months. It has to reflect how you look now.
What to wear (and not wear)
IRCC has no formal dress code, but a few choices reliably cause problems.
Avoid: hats and caps, sunglasses or tinted lenses, headphones, and anything that shadows or covers the face. A pure white top can blend into a white background, so a darker, solid colour reads more cleanly.
Fine: ordinary everyday clothing, light everyday makeup, clear prescription glasses worn without glare, and religious or medical head coverings worn daily, provided the full face stays visible from the bottom of the chin to the top of the forehead.
Keep it simple. The face has to be the clearest thing in the frame, fully lit and unobstructed.
Where to get your photo
You can shoot a Canada work permit photo at a studio, a drugstore, or from a photo at home. The trade-offs:
| Option | Cost | IRCC-compliant? | Notes |
|---|---|---|---|
| Pharmacy / drugstore (e.g. Shoppers Drug Mart) | ~C$15–20 | Yes | Same day, two prints, staff handle sizing |
| Photo studio | ~C$20–30 | Yes | Will add name and date on the back if asked |
| Visa Application Centre (VAC) abroad | Varies | Yes | Often available at the VAC where you submit |
| Take it yourself | Free | Only if you crop to spec | Easy to get head size or background wrong |
| Online tool (this site) | $1 | Yes | Crops to the 35 × 45 mm spec and checks head size |
In-store is the simplest if you are submitting on paper, because the shop prints two copies and can write your name and the photo date on the back. If you are applying online, an at-home shot cropped to the IRCC spec works just as well. Whichever route you pick, the only thing that matters is that the photo meets every rule above.
Submitting your photo
How you submit depends on the route.
Online (IRCC secure account): Most work permit applications go through the IRCC online account, and applicants already in Canada upload the photo there too. You attach a digital photo as a document. There is no printing and no back-labelling for this route. The file just has to meet the spec and be under 6 months old.
Paper or Visa Application Centre (VAC) abroad: Bring two identical printed photos. On the back of one print, IRCC asks for your name and the date the photo was taken, written by hand or on a label (a studio will usually do this for you). The two most common paper-route mistakes are submitting only one photo when two are required, and forgetting the name and date on the back. Check both before you hand them in.
Ready to skip the studio?
Upload a selfie and get a compliant photo in 2 minutes.
Sources & References
This guide is fact-checked against official government publications and updated regularly to reflect the latest requirements.
- [1]