Detailed requirements for US passport photos
Official US passport photo specs (travel.state.gov)
| Format | Printed photo | Online renewal upload |
|---|---|---|
| Size | 2×2 inches (51×51 mm) | Reposition or crop in the application |
| Head height | 1–1⅜ inches (25–35 mm) chin to crown | Head centered; bottom edge at the shoulders |
| Background | White or off-white | White or off-white |
| File type | Color print on photo paper | JPEG, PNG, HEIC, or HEIF |
| File size | Not applicable | 54 KB – 10 MB |
| Glasses | Not allowed (medical exception) | Not allowed |
| Recency | Taken within 6 months | Taken within 6 months |
The US photo is a 2x2 inch square, the format that trips up anyone reusing a 35x45 mm photo from another country. For all dimensions in pixels, mm, and cm, see US Passport Photo Size and Dimensions. The spec cards above already give the size, background, and head-height numbers, so here are the lines people actually miss:
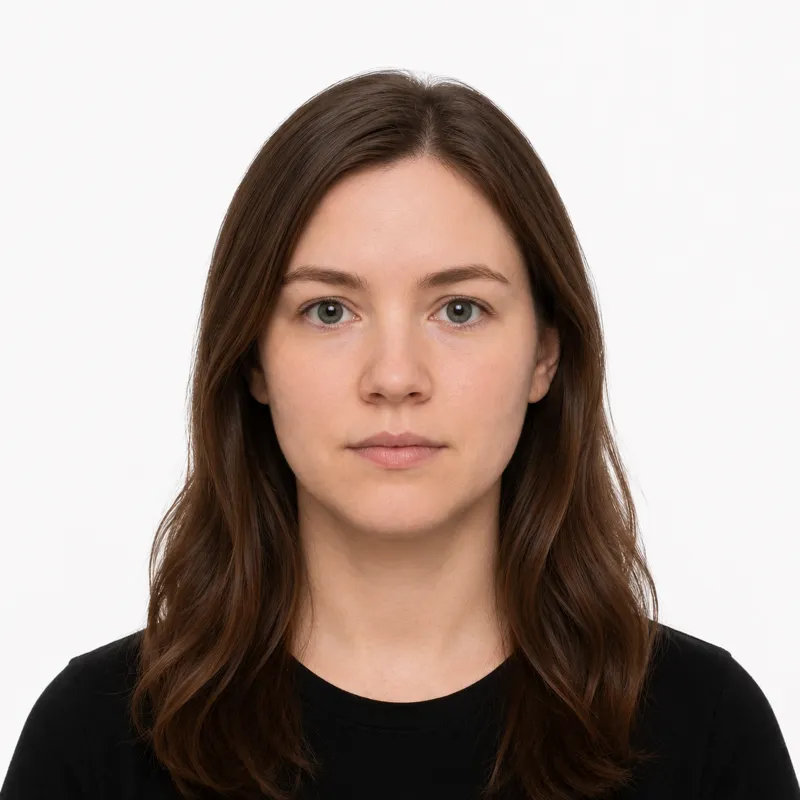
- Eyes: between 1⅛ and 1⅜ inches from the bottom of the photo
- Expression: a natural smile with mouth closed is allowed; the rule bars exaggerated expressions, not smiling; both eyes open
- Glasses: not allowed (the rule has held since November 2016)
- Recency: taken within the last 6 months, and it has to look like you do now
For online renewal, the State Department’s digital-photo instructions specify a JPEG, PNG, HEIC, or HEIF file between 54 KB and 10 MB. They do not specify a 600–1200 px square requirement. Upload the original photo with your head centered and your shoulders visible; you can reposition or crop it in the application.
Steps to take a US passport photo at home
A modern phone camera is good enough. US passport photos fail on framing and lighting far more than on camera quality. Work through the three stages below.
Preparation
Pick a plain white wall and stand 6-8 feet in front of it, with enough gap that you don’t cast a shadow on it. Face a window so natural light hits you evenly from the front; avoid overhead light, which drops shadows under the eyes and chin. Take off glasses, hats, and earbuds before you start. Need a DIY white wall checklist? See How to get a white background on your passport photo.
Positioning
Have someone else take the shot rather than a selfie, which distorts facial proportions and frames the head wrong. Look straight at the camera, neutral expression (or a closed-mouth natural smile), both eyes open, hair clear of your eyes. Square your shoulders to the lens.
Uploading
For a paper application (in person or by mail), you need one printed 2×2 photo with the head sized to 25–35 mm chin to crown. For online renewal, upload the original JPEG, PNG, HEIC, or HEIF file, between 54 KB and 10 MB, and use the application to reposition or crop it.
Why photos get rejected
Acceptance facilities and the online renewal photo-check bounce the same handful of problems again and again. Each one, and the fix:
- Glasses left on: still the single most common rejection. Take them off, even prescription glasses.
- Head too large or too small: it must be 25–35 mm chin to crown. Re-shoot from the right distance, or re-crop.
- Shadows: on the face or on the wall behind you. Move away from the wall and light yourself from the front.
- Background not truly white: a cream or grey wall reads as off-spec. Use a white wall or replace the background.
- Smile showing teeth: keep the mouth closed; a slight natural smile is fine.
- Too dark, too bright, or low resolution: even lighting, and a high-resolution file.
- Photo older than 6 months: it must reflect your current appearance.
Head size is the one most people get wrong and can’t eyeball. We built a free checker (/photo-checker/) that measures the chin-to-crown height of a finished photo against this exact 25–35 mm range; in our own testing (June 2026) it catches an off-by-a-few-millimetres head that looks fine to the eye but fails at the counter. Run a photo through it before you submit if you’re unsure.
What to wear (and not wear)
Against a white US background, the wardrobe mistake that bounces the most photos is a white or pale top that blends into the background and softens your outline. Wear a darker, solid color instead.
Avoid: glasses of any kind, hats or caps, headphones or earbuds, uniforms or camouflage, and that white-on-white top.
Fine: normal everyday clothing, light makeup that doesn’t change your everyday look, religious head coverings worn daily (with a signed statement), and medical devices like hearing aids.
Light, everyday makeup is usually fine if you still look like yourself. For eyeliner, lashes, and what to avoid, see Can you wear makeup in a passport photo?. For clothing color against a white background, see What to wear for a passport photo.
Glasses are the trap: many applicants don’t know the no-glasses rule exists, and the State Department treats glasses as an automatic rejection unless you have a signed doctor’s statement.
How to print a US passport photo
Whether you need a print at all depends on how you apply. Renewing online through MyTravelGov? You upload a digital file and print nothing. Every paper route (a first-time DS-11 application in person, or a renewal by mail) must include one printed 2×2 inch color photo on photo paper. Three ways to get the print:
At a pharmacy or retailer
Walgreens, CVS, Walmart, and Costco photo counters print a 2x2 passport sheet on the spot, usually same-day. The staff frame and crop it for you, which is the simplest route if you don’t want to handle the spec yourself. For a full pricing breakdown and store-by-store walkthrough, see Where to print passport photos and our CVS passport photo guide.
At home from a print sheet
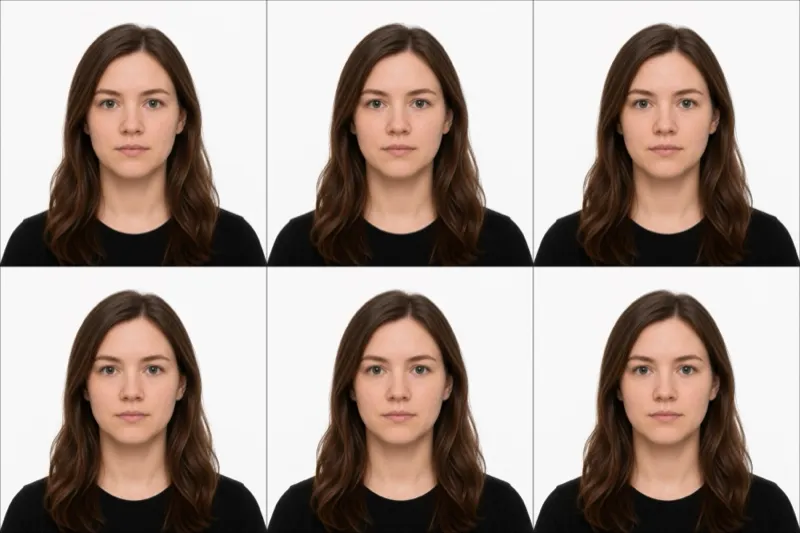
If you make the photo online, download the print-ready 4×6 sheet (it lays out the 2×2 photos for you) and print it on photo paper at a kiosk or home photo printer. A 4×6 drugstore print costs cents and yields two passport photos.
Print finish
Use matte or glossy photo paper, never plain printer paper. The print must be unmarked on the back, uncreased, and uncut beyond the 2×2 size.
Where to get a passport photo
You can get a US passport photo online or in-store. The in-store channels differ in price and whether they guarantee acceptance.
Pharmacies
Walgreens ($14.99) and CVS ($16.99) take and print the photo same-day, no appointment, with an acceptance guarantee. The most common walk-in choice.
Post offices
Many USPS locations (~$15.00) take the photo when you submit a DS-11 in person, usually by appointment. Convenient as a one-stop if you’re already filing there.
Retail & studios
Walmart ($7.44) is the cheapest but does not guarantee acceptance; a photo studio ($25) is priciest and best for tricky lighting or kids.
Online
This site crops any photo to the 2×2 spec, replaces the background, and outputs the MyTravelGov digital file for $1, or that plus a print sheet for $5, in about two minutes, money-back if rejected.
| Where | Price | Appointment | Acceptance guarantee |
|---|---|---|---|
| Walgreens | ~$14.99 | No | Yes |
| CVS Photo | ~$16.99 | No | Yes |
| Walmart Photo | ~$7.44 | No | No |
| USPS (post office) | ~$15.00 | Usually | Yes |
| Photo studio | ~$25.00 | Yes | Varies |
| Online tool (this site) | $1.00 | No | Money-back if rejected |
Creating a digital photo online (MyTravelGov)
If you’re renewing online from the USA, you don’t print anything. You upload a digital passport photo. The State Department portal accepts a JPEG, PNG, HEIC, or HEIF image between 54 KB and 10 MB, taken within the last 6 months.
You can take that digital photo at home against a plain white or off-white wall in even front light. Keep your head centered and include your shoulders. Submit the original, unedited image; the renewal application lets you reposition or crop it and checks basic photo requirements before submission. A State Department employee reviews it afterward.
Babies, kids, and special situations
Infants and toddlers follow the same rules as adults: no pacifiers, no hands or arms in the frame. Lay the baby on a plain white sheet and shoot from directly above. Both eyes open.
Religious head coverings are allowed if worn daily for religious reasons; the face must be fully visible from forehead to chin, and a signed statement may be requested.
Glasses are not permitted, even prescription. If you wear them daily, take them off for the photo. The only exception, recovering from eye surgery for example, requires a signed doctor’s statement.
Medical devices such as hearing aids or oxygen tubes worn daily are fine.
Frequently asked questions
What size is a US passport photo?
2x2 inches (51x51 mm). Head height from chin to crown is typically 1 to 1 3/8 inches. See the requirements table on this page and travel.state.gov for full details.
Can I take my own US passport photo at home?
Yes, if it meets official specs. Use a plain white or off-white background and even front light. See Steps to take a US passport photo at home on this page. For white-background tips, see our white background guide.
What about a digital photo for online renewal?
MyTravelGov online renewal uses a digital upload. Follow the State Department digital photo instructions linked in sources. File rules can change; verify on the official upload page.
Can I print at CVS or Walgreens?
You can print a prepared 4x6 sheet as a regular photo print. That is different from the in-store passport photo counter service. See our print guide and CVS guide.
Can I wear makeup?
Light makeup that keeps a natural appearance is generally fine. Heavy looks that change how you look can be risky. Details: Can you wear makeup in a passport photo?
Why do photos get rejected?
Common issues include glasses on, wrong head size, shadows, and background not white enough. See Why photos get rejected on this page.
Ready to skip the studio?
Upload a selfie and get a compliant photo in 2 minutes.
Sources & References
This guide is fact-checked against official government publications and updated regularly to reflect the latest requirements.
- [1] US Department of State — Passport Photo Requirementstravel.state.gov
- [2] US Department of State — Photo Composition Template (PDF)travel.state.gov
- [3] US Department of State — Uploading a Digital Phototravel.state.gov
- [4] MyTravelGov online renewal portalmy.travel.state.gov