⚠ Always verify the current spec at passports.gov.au before printing or lodging. The two things that catch Australian applicants out are not in the dimensions: the print has to be on the right paper, and one photo has to be signed on the back by your guarantor.
The official requirements
The detail that decides everything about an Australian passport photo is that it never gets uploaded. The Australian Passport Office takes no digital file. You hand two printed photos across a counter, and one of them carries your guarantor’s signature on the back. Plan the photo as a printed, signed object, not a file.
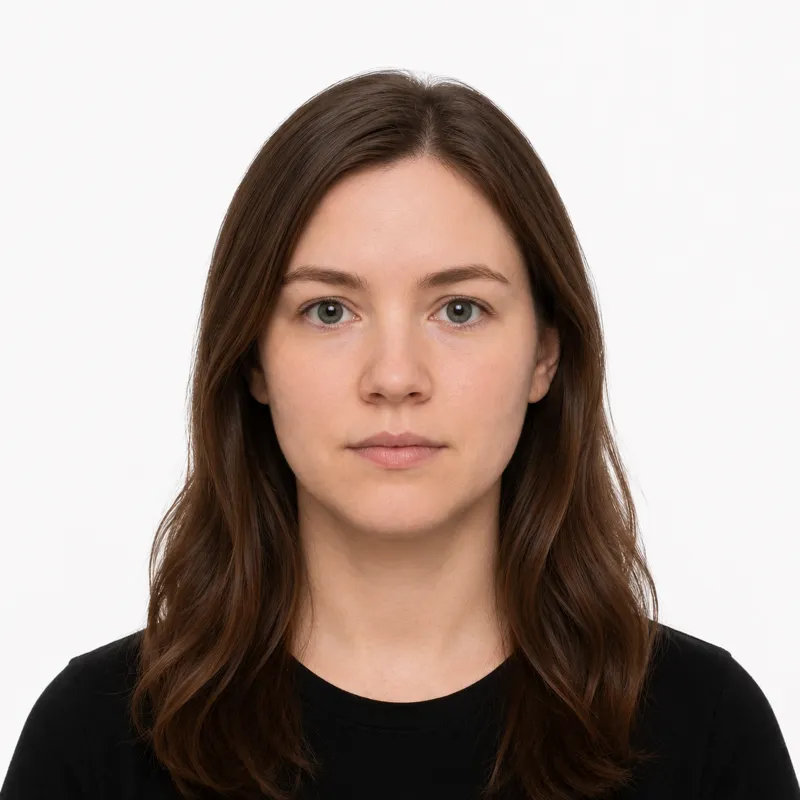
The spec each print must meet:
- Size: 35 mm wide by 45 mm tall
- Background: plain white or light grey, no patterns, shadows or marks
- Head size: 32–36 mm from chin to crown (about 70–80% of the photo height)
- Expression: neutral, eyes open, mouth closed (for anyone over 3 years)
- Glasses: not permitted, including prescription glasses, unless you carry a medical certificate
- Recency: taken within the last 6 months and a true likeness of you now
- Colour: colour photo, natural skin tones, even lighting
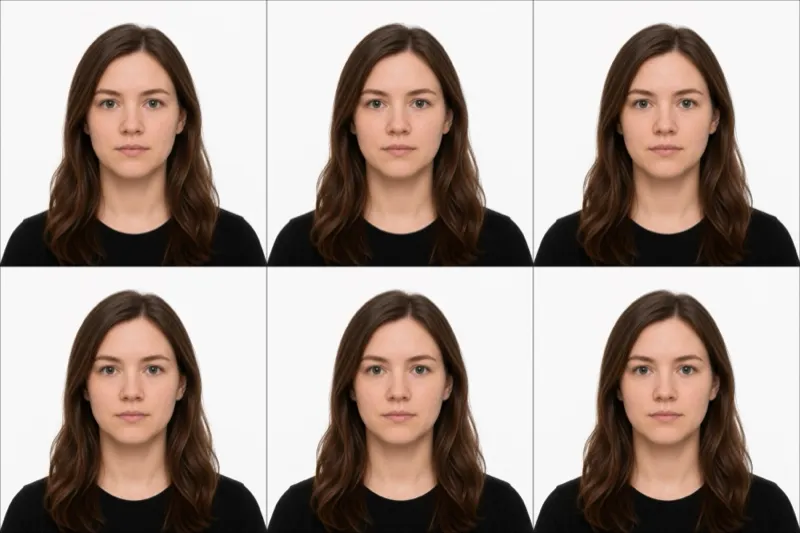
- Quantity: two identical prints
- Paper: high-gloss, heavyweight photo paper. Inkjet prints are not accepted.
Why inkjet prints fail (and what to print on)
Most countries care only about how the photo looks. Australia also cares about what happens to it after you hand it over, and that is why the paper rule exists. Your printed photo gets scanned into the application during processing, and the Passport Office states that inkjet prints can introduce visible lines into the picture when it is scanned. So an inkjet print can look perfect in your hand and still be refused, because the failure shows up at the scanner, not the counter.
What passes is a high-gloss, heavyweight print. That means a dye-sublimation or genuine photo-lab print, the kind a kiosk or a photo counter produces, not a home printer on glossy-coated inkjet stock. If you take the photo yourself, the file is only half the job: the print has to come off lab-grade equipment. This is the single most common reason a self-taken Australian photo gets bounced, and it is invisible until you understand the scanning step behind it.
The guarantor signature on the back
This step has no equivalent in a US, UK or NZ passport photo, and it is the one people forget until the counter asks for it. Your guarantor, the same person who signs section 11 of your application, must also sign the back of one of your two photos. They write, in black pen, “This is a true photo of [your full name],” and sign it.
Three consequences follow:
- The guarantor has to see the photo before you lodge, so get the prints made before you meet them, not on the way to the counter.
- Black pen only. A blue or felt-tip signature on the back of a glossy print is a re-do.
- Only one of the two prints is signed. Keep them clearly identifiable so the unsigned one stays clean.
Because the photo is a signed legal attestation, the Passport Office advises against online photo services and mobile apps, on the grounds that uploading your face to a third party is an identity-fraud risk. A self-shot photo printed at a local lab keeps the image off other people’s servers and still meets the spec.
How to take a compliant photo
A modern phone camera is fine. Australian photos fail on framing, background and the print far more than on the camera. The setup that works:
- Stand 1.5–2 metres in front of a plain white or light grey wall, with the same gap between you and the wall to avoid casting a shadow on it.
- Light yourself evenly from the front. Face a window; skip overhead lights, which drop shadows under the eyes and nose.
- Have someone else take it. Selfies distort facial proportions and almost always misframe the head for the tight 35 by 45 mm crop.
- Look straight at the lens, neutral expression, mouth closed, both eyes open and visible, glasses off, hair clear of the eyes and ears.
- Crop so the head measures 32–36 mm chin to crown, then send the file to a photo lab or kiosk for a glossy, heavyweight print. Do not print at home on inkjet.
We ran a self-shot 35 by 45 mm photo through our own photo checker on 29 June 2026: it caught a 30 mm head as undersized against the 32–36 mm band and flagged a faint wall shadow, both before any print was made. A checker catches the framing and background faults; it cannot judge the paper, so the lab print is still the step that decides acceptance.
Why photos get rejected
The Passport Office and counter staff bounce the same handful of faults. Each one, and the fix:
- Inkjet print. Lines appear when it is scanned. Reprint on high-gloss heavyweight paper at a lab or kiosk.
- No guarantor signature, or the wrong pen. One print must read “This is a true photo of [your full name]” in black pen, signed.
- Glasses left on, including prescription. Take them off unless you hold a medical certificate.
- Wrong head size. Must be 32–36 mm chin to crown. Re-shoot from the right distance or re-crop.
- Off-spec background. Cream, textured or seamed walls and gradients fail. Plain white or light grey only.
- Shadows on the face or the wall. Step away from the wall and light from the front.
- Digital retouching. Removing moles, scars, wrinkles or red-eye, or replacing the background in software, causes rejection.
- Photo older than 6 months. It must reflect your current appearance.
Where to get your photo
You can pay a provider to shoot and print, or shoot it yourself and pay only for the lab print. Either way the print has to be glossy and heavyweight. Indicative prices:
| Where | Price (AUD) | Appointment | Speed | Notes |
|---|---|---|---|---|
| Australia Post | ~$19.95 | No | Same day | Shoots, prints and lodges the application in one visit |
| Officeworks | ~$16.95 | No | Same day | Glossy lab print; cheaper than the post office |
| Local chemist / pharmacy | ~$15–20 | No | Same day | Quality varies; confirm it is a glossy lab print |
| Photo studio | ~$25–35 | Usually | Same day | Highest control over framing and lighting |
| Shoot yourself, print at a kiosk | $1 for the file + print cost | No | Minutes | Cheapest if your shot is compliant; the kiosk print must be glossy |
Australia Post is the common default because it does the photo and lodges the application in the same trip, and counter staff check the photo against the spec on the spot. Officeworks and most chemists are cheaper and usually fine. The self-shoot route is the lowest cost and keeps your image off third-party servers, but it only works if you then get a proper glossy lab print, and you still need your guarantor to sign the back before you lodge.
Frequently asked questions
Can I upload my passport photo online in Australia? No. There is no digital photo upload for an Australian passport. You lodge two printed photos in person at a participating Australia Post outlet or an Australian mission overseas, even for a renewal.
Why does it have to be glossy, and can’t I just print it at home? The photo is scanned into your application, and inkjet prints can introduce lines when scanned. A home inkjet print is refused even on glossy-coated inkjet paper. Use a lab or kiosk that prints on high-gloss, heavyweight stock.
Who signs the back of the photo, and what do they write? Your guarantor, the same person who signs section 11 of the form. On the back of one of the two photos they write, in black pen, “This is a true photo of [your full name],” and sign it.
Can my child wear a dummy or be held in the photo? No dummies, toys, hands or arms in the frame. Lay a baby on a plain white sheet and shoot from directly above. A supporting hand is allowed only if it is not visible in the final crop. The mouth-closed rule does not apply to children under 3.
I wear glasses every day. Can I keep them on? No, not without a signed medical certificate (for example, after eye surgery). Everyday vision correction is not a valid exception, so take them off for the photo.
Can I wear a religious head covering? Yes, if you wear it daily, provided your full face is clearly visible from the bottom of the chin to the top of the forehead and both edges of the face.
Ready to skip the studio?
Upload a selfie and get a compliant photo in 2 minutes.
Sources & References
This guide is fact-checked against official government publications and updated regularly to reflect the latest requirements.
- [1] Australian Passport Office — Passport photospassports.gov.au