The official requirements
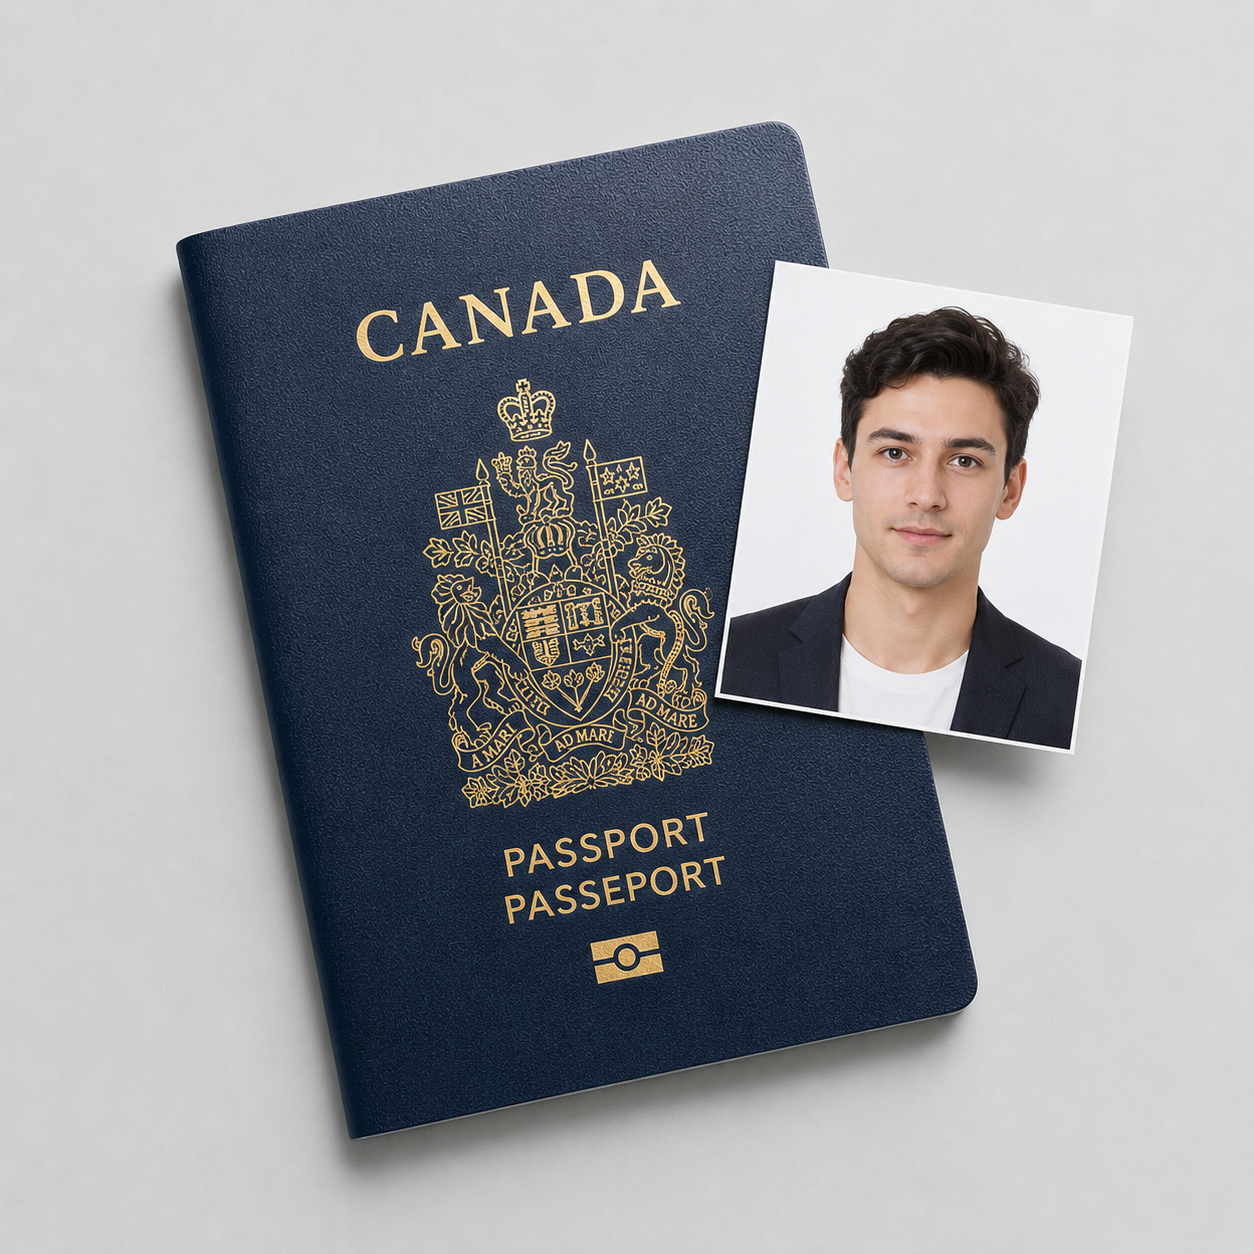
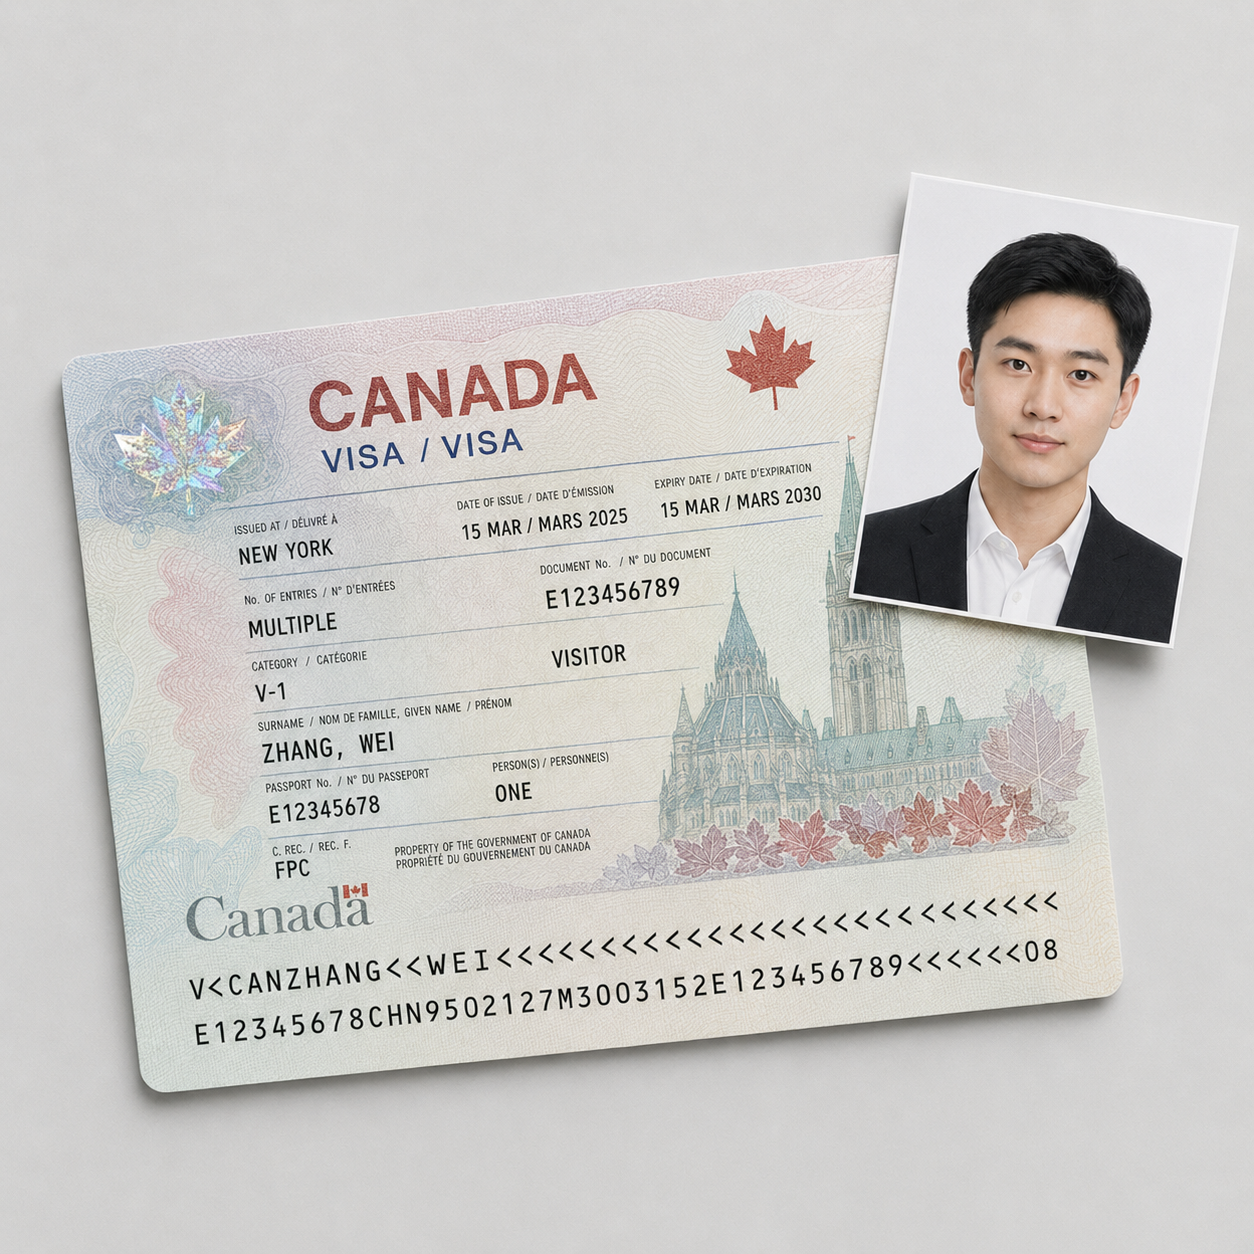
Before anything else: the citizenship photo is its own spec. It is not the Canadian passport photo (50×70 mm) and it is not the visa or TRV photo. The single most common mistake is bringing in a print sized for the wrong document, so confirm you are looking at the citizenship rules below.
IRCC sets these requirements, and an application with a non-compliant photo gets returned:
- Size: at least 35 mm wide by 45 mm high
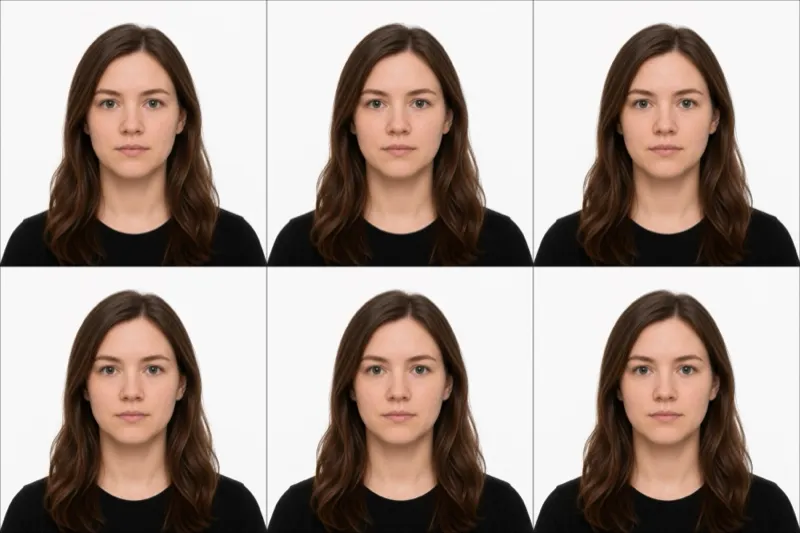
- How many: two identical, unaltered photos
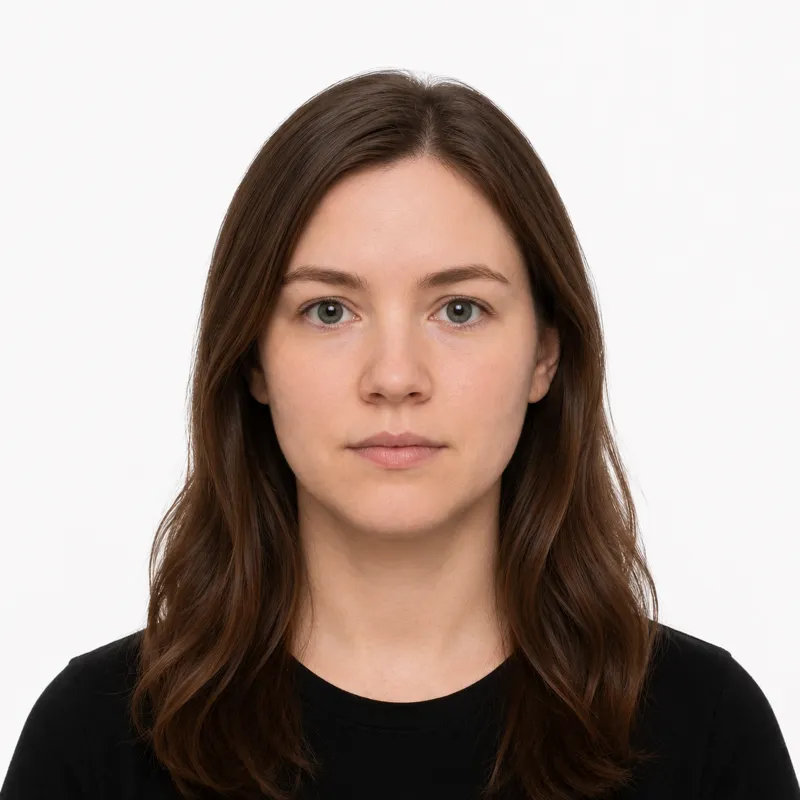
- Background: plain white or light-coloured, uniform, no shadows
- Face height: 31 to 36 mm from chin to crown (the natural top of the head), roughly 70 to 80 percent of the photo height
- Expression: neutral, mouth closed, eyes open, looking straight at the camera, face and shoulders squared and centred
- Glasses: allowed, but with no glare and no tinted lenses that hide the eyes
- Recency: taken no more than 6 months before you submit the application
- No alteration: the photo cannot be retouched, edited, or filtered in any way
- On the back: the date the photo was taken plus the photographer’s or studio name and address, written or stamped on the back of both prints
That last rule trips up applicants more than any spec measurement. A technically perfect photo with a blank back is still rejected.
How to take a compliant photo
Most Canadians get these taken at a photo studio or pharmacy, but the mechanics are simple enough to control yourself. Follow the steps in order:
- Stand a few feet in front of a plain white or light-coloured wall, far enough back that you cast no shadow on it.
- Light yourself evenly from the front, ideally from a window. Avoid overhead light, which drops shadows under the eyes.
- Look straight at the camera with a neutral expression, mouth closed, both eyes open, face and shoulders squared.
- If you wear glasses, check that there is no glare on the lenses and that your eyes are clearly visible. Tinted lenses are not acceptable.
- Frame so the face measures 31 to 36 mm from chin to crown once the print is sized to at least 35×45 mm.
- Print two identical copies. Do not retouch or filter either one.
- On the back of both prints, write or stamp the date the photo was taken and the name and address of the photographer or studio.
Step 7 is not optional and it is not something a kiosk does for you automatically. If you take the photo yourself, you still have to annotate the back.
Why photos get rejected
IRCC returns the whole application when the photo is off-spec. These are the failures that cause it, each with its fix:
- Only one photo supplied. IRCC requires two identical prints. Print and submit both.
- Nothing written on the back. The date and the photographer’s name and address must appear on the back of each print. Add them before mailing.
- Used the passport size. The 50×70 mm permanent-resident or passport size is wrong here. Citizenship photos are at least 35×45 mm.
- Edited or retouched. Any filtering, smoothing, or background editing voids the photo. Submit the unaltered original.
- Face outside 31 to 36 mm. Too large or too small from chin to crown. Re-shoot from the right distance or re-size the crop.
- Non-neutral expression. An open mouth, a smile showing teeth, or looking off to the side. Keep the mouth closed, eyes open, looking straight ahead.
What to wear (and not wear)
There is no formal dress code, but a few choices reliably cause problems.
Avoid: uniforms of any kind, hats or caps, and anything that obscures the face. Tinted glasses are out, and even clear glasses are a risk if the lenses catch glare. A very pale top can blur into a light background, so a darker solid colour reads more cleanly.
Fine: ordinary everyday clothing, clear prescription glasses worn without glare, and religious or medical head coverings worn daily, as long as the full face stays visible from forehead to chin.
Glasses are allowed for the citizenship photo, which is a real difference from some other photo IDs. The catch is glare and tint: if the lenses reflect light or shade the eyes, the photo fails.
Where to get your photo
You can have the photo taken in person or produce it yourself. The trade-offs:
| Where | Price | Knows the citizenship spec | Produces two prints | Back annotation |
|---|---|---|---|---|
| Canadian photo studio or pharmacy | Varies | Yes | Yes | Studio stamps it |
| Online tool (this site) | $1.00 | Yes, sized to 35×45 mm | Yes, both prints on the sheet | You write it yourself |
A studio or pharmacy that knows the IRCC citizenship spec is the low-effort path: they size it correctly and stamp the back with their name, address, and date for you. If you produce the photo with an online tool, make sure it outputs two prints at the citizenship size, and remember the back-of-photo writing is on you. The tool sizes and crops the image; it cannot stamp a physical print, so you add the date and studio details yourself before mailing.
Whichever route you take, the only thing that matters is that both prints meet every rule above and carry the required note on the back.
Submitting your photo
How you submit depends on which application you are filing.
Paper citizenship application (by mail). Include two identical printed photos, each sized to at least 35×45 mm, each with the date and the photographer’s or studio name and address written on the back. Your name and date of birth are also recorded with the photos. Mail them with the rest of the application package.
Online citizenship grant application. If you apply through the online citizenship grant portal, you upload a digital photo that meets IRCC’s grant-online photo specifications instead of mailing prints. The framing, background, expression, and recency rules are the same; the difference is that you submit a digital file rather than two physical prints with annotated backs. Check the grant-online specification page for the exact digital file requirements before you upload.
If anything about the photo is off-spec on either channel, IRCC returns the application, so it is worth confirming the size, the count, and the back annotation before you send it.
Ready to skip the studio?
Upload a selfie and get a compliant photo in 2 minutes.
Sources & References
This guide is fact-checked against official government publications and updated regularly to reflect the latest requirements.
- [1]
- [2]