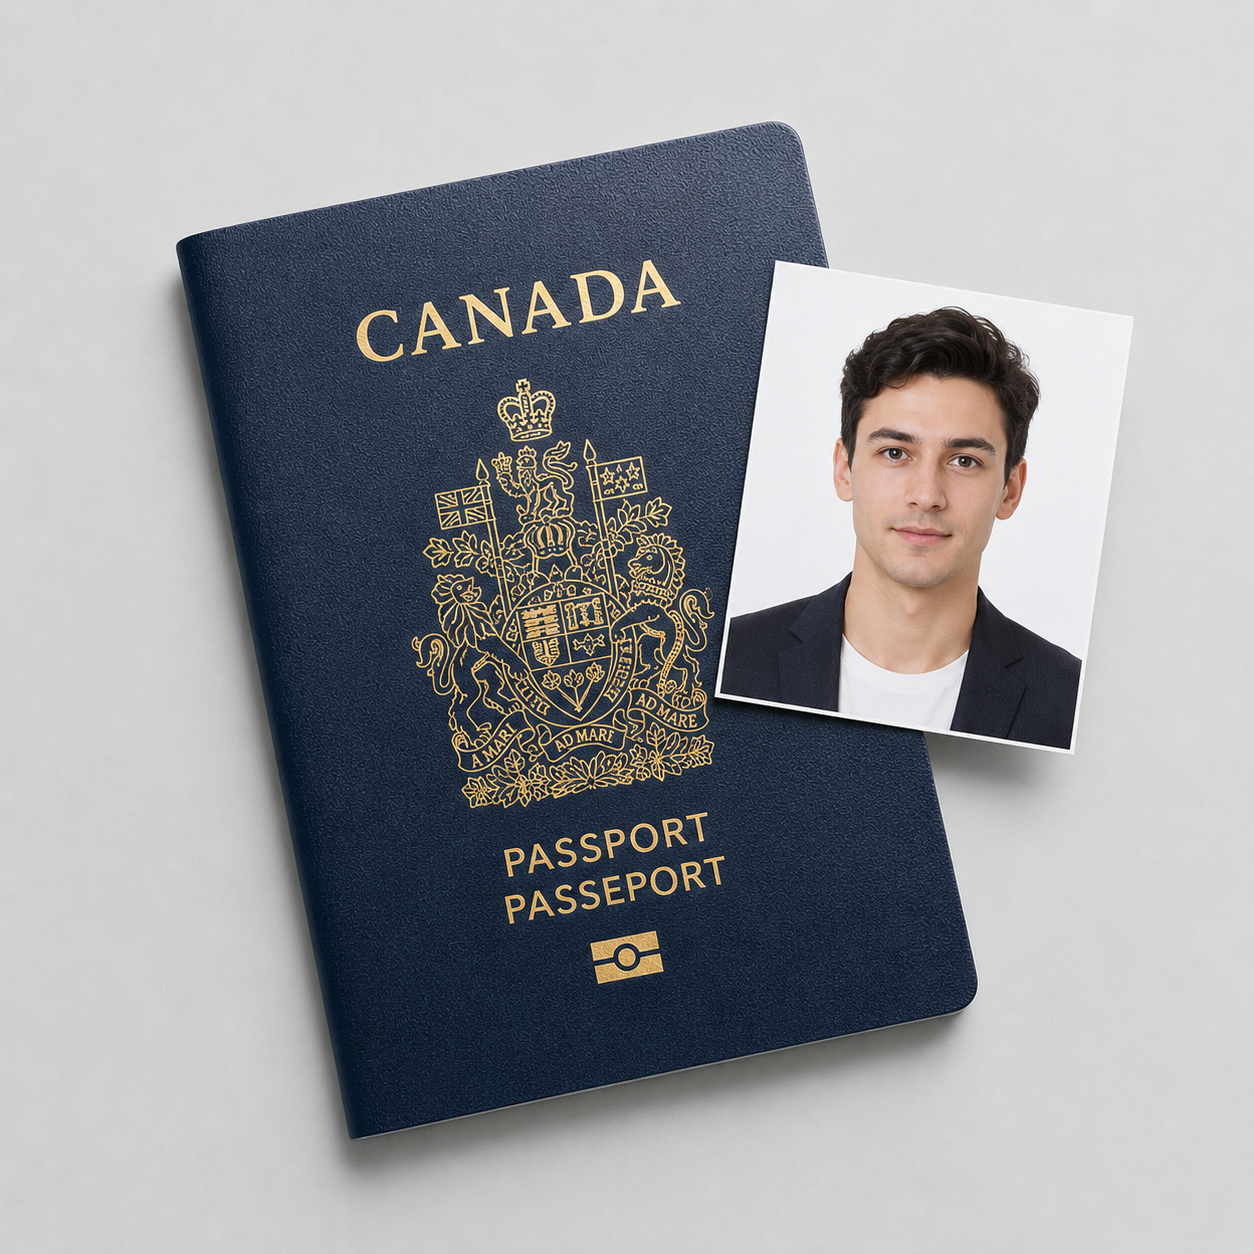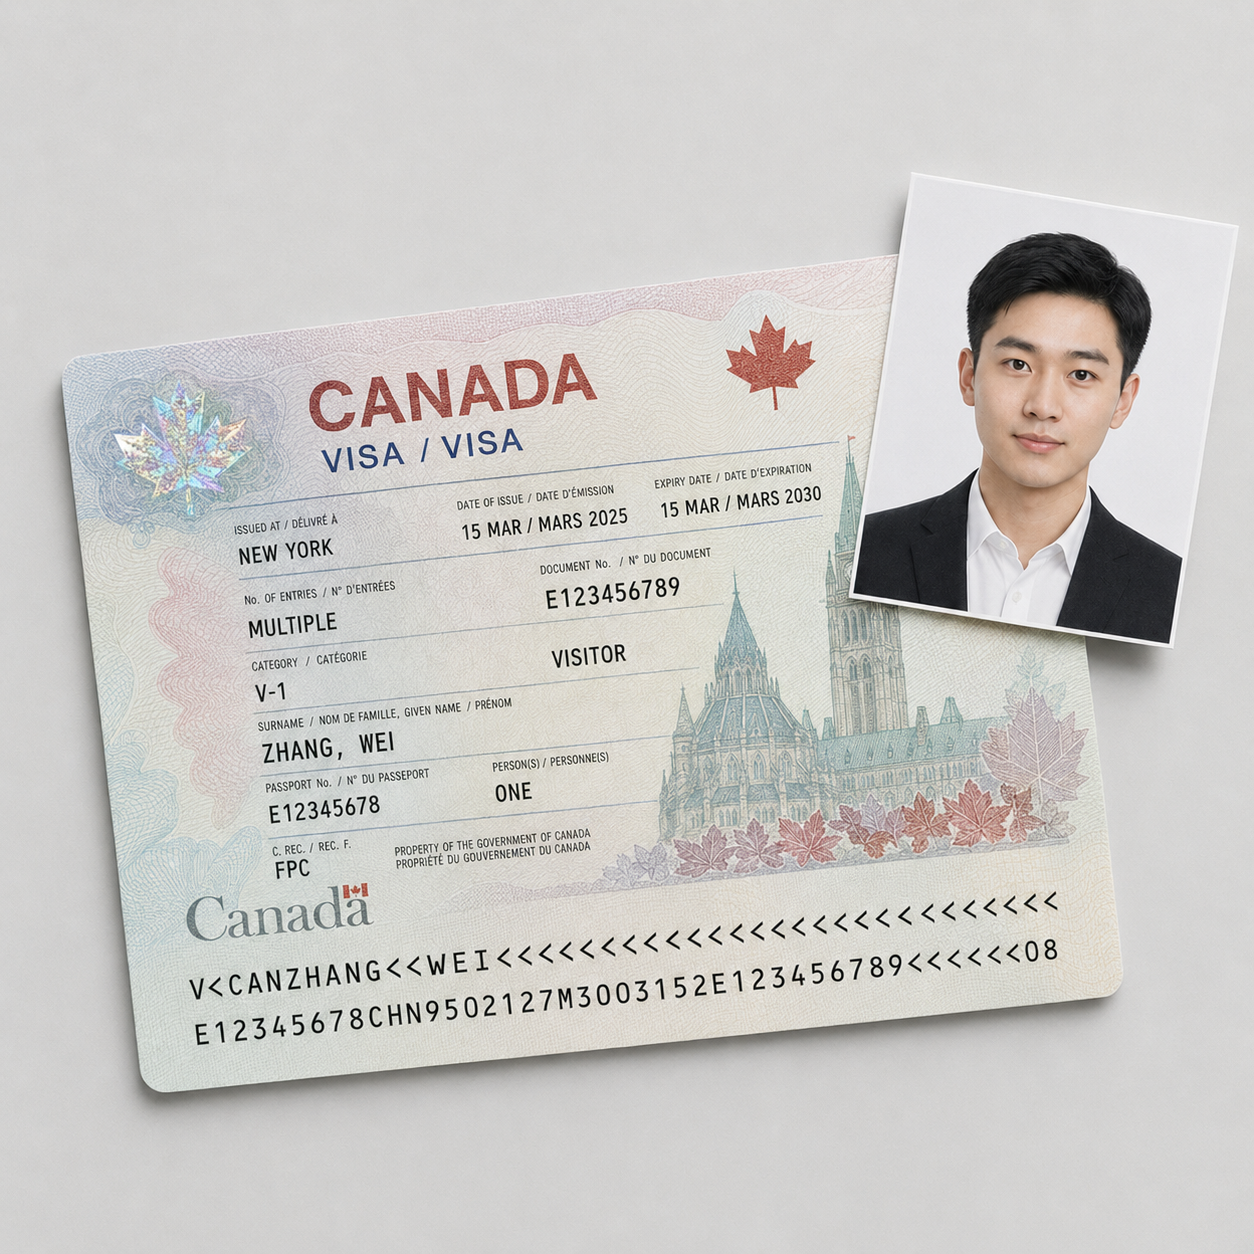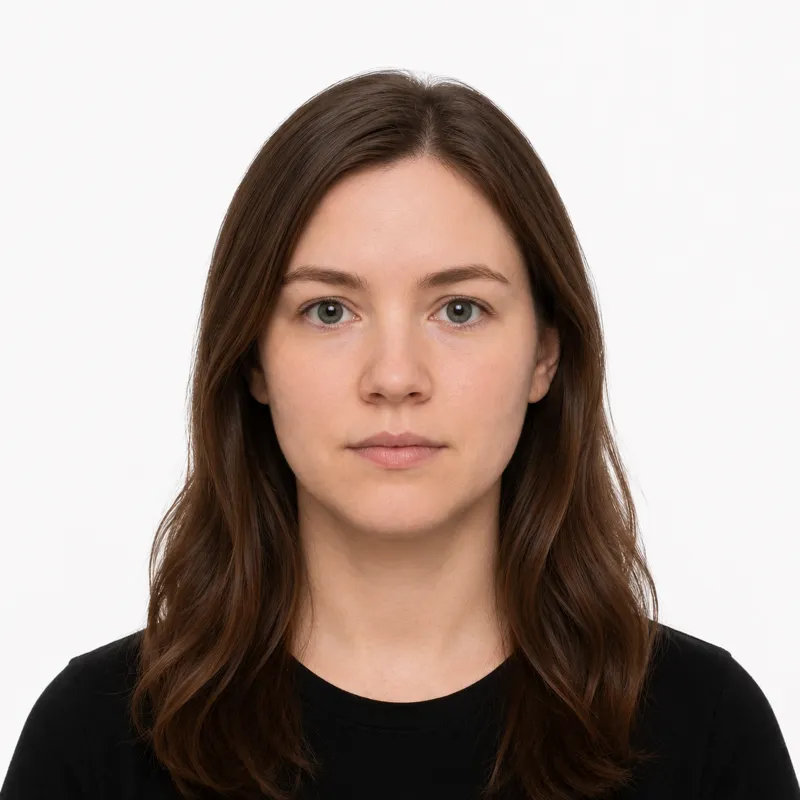
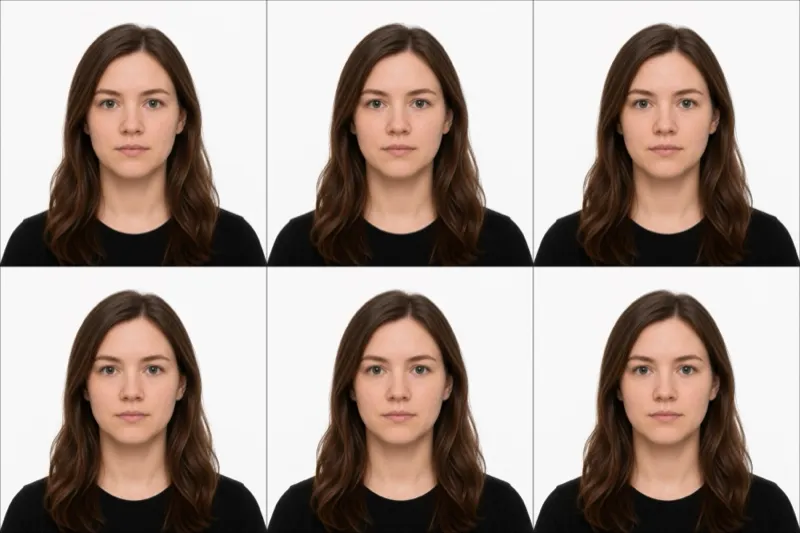
The official requirements
The single measurement that trips up the most study permit applications is head height: IRCC wants 31 to 36 mm from chin to crown, measured tightly, inside a 35×45 mm frame. Hit that and most of the rest follows.
The full set of rules IRCC enforces:
- Size: 35×45 mm (the standard temporary-resident dimensions)
- Head height: 31 to 36 mm from chin to crown, measured tightly
- Background: plain white or light-coloured, no shadows, no pattern
- Expression: neutral and natural, both eyes open, looking straight at the camera
- Glasses: clear prescription glasses are allowed only if there is no glare on the lenses; sunglasses and tinted lenses are not allowed
- Recency: taken within the last 6 months, even for a renewal
- Colour: a colour photo under even lighting
Digital uploads add one rule: a JPEG, at least 827×1063 pixels and at most 2000×2800 pixels, no larger than 4 MB. The IRCC portal checks the 35:45 aspect ratio on upload, so an off-ratio crop is rejected on the spot.
One photo for study, work & visitor
Canada doesn’t publish a separate photo spec for study permits. IRCC sets one temporary-resident photo standard, and it covers all three temporary applications: the study permit, the work permit, and the visitor visa. The photo you submit for your study permit is the exact same one a tourist submits for a visitor visa.
The practical upshot: get this single 35×45 mm spec right once and it works across every temporary-resident application you might file. If you already made a compliant photo for a visitor visa or a work permit, the same file is valid for the study permit, as long as it’s still within the 6-month recency window.
How to take a compliant photo
A recent phone camera is sharp enough. Study permit photos fail on framing, head height, and lighting far more than on megapixels. The setup that works:
- Stand about 1.5 metres in front of a plain white or light wall, with enough gap behind you that you cast no shadow on it.
- Light yourself from the front, ideally facing a window. Overhead light drops shadows under the eyes and chin.
- Have someone else take the shot from a couple of metres back. Selfies distort your proportions and almost always frame the head wrong.
- Look straight at the lens, neutral expression, both eyes open, hair clear of your face.
- Crop to 35×45 mm with the head sized so chin-to-crown lands inside 31 to 36 mm: or upload the shot to a tool that crops to the ratio and checks the head height for you.
Why photos get rejected
These are the bounces IRCC officers and the upload portal flag again and again, with the fix for each:
- Head outside 31 to 36 mm chin to crown: the most common failure. Re-shoot from the right distance or re-crop so the head fits the range exactly.
- Wrong size: a study permit photo is 35×45 mm, not the 50×70 mm used for PR cards and passports. Don’t reuse a passport print.
- Background not clean: a cream, grey, or textured wall reads as off-spec. Use a plain white or light wall, or replace the background.
- Shadows: on the face or on the wall behind you. Step away from the wall and light yourself from the front.
- Glare on glasses: reflection across the lenses hides the eyes. Tilt your head slightly or take the glasses off.
- Photo over 6 months old: it must reflect your current appearance, renewals included.
- Off-ratio or oversized file (digital): the portal wants an exact 35:45 JPEG under 4 MB. Export within the pixel and size limits.
The back-of-photo stamp (paper only)
This is the rule that catches people who apply by mail, and it has no equivalent in a digital upload. For a paper study permit application, the back of each printed photo must carry the photographer’s name, their studio address, and the date the photo was taken, written or stamped on.
It’s a uniquely Canadian requirement: most countries accept an unmarked print. Miss the stamp and the mailed application is rejected, often weeks after you sent it. If you apply on paper, the simplest route is a studio or pharmacy photo counter that stamps the back for you as a matter of course. If you build the photo yourself at home, you have to add the name, address, and date by hand before mailing. Online applicants skip this entirely: the portal takes a plain digital file.
Where to get your photo
You can have the photo taken in person or make it yourself from a shot at home. The trade-offs:
| Where | Price | Appointment | Speed | Spec-checked |
|---|---|---|---|---|
| Pharmacy or photo counter | ~$15–20 CAD | No | Same day | Usually |
| Photo studio | ~$20–30 CAD | Sometimes | Same day | Varies |
| Passport photo shop | ~$15 CAD | No | Same day | Usually |
| Online tool (this site) | $1.00 | No | ~2 minutes | Head size & ratio checked |
A studio or photo counter is the simple route if you also need a stamped paper print for a mailed application: they handle the back-of-photo details for you. If you’re applying online, you only need a digital file, and you can build that from an ordinary photo taken against a plain wall: the tool here crops to 35×45 mm, checks the 31–36 mm head height, and exports a JPEG inside the portal’s pixel and size limits, usually for a dollar in about two minutes.
Babies, kids & special situations
Children and infants follow the same 35×45 mm size and the same 31–36 mm chin-to-crown range as adults, which is the hard part for a baby. Lay the child on a plain white sheet and shoot straight down, with no toys, hands, or arms in the frame, both eyes open, and a neutral expression. The head still has to fall inside the measured range.
Religious head coverings are allowed if they’re worn daily for religious reasons, as long as the full face from forehead to chin stays visible.
Glasses are permitted only as clear prescription lenses with no glare. If you can’t get rid of the reflection, take them off. Sunglasses and tinted lenses are never accepted.
Ready to skip the studio?
Upload a selfie and get a compliant photo in 2 minutes.
Sources & References
This guide is fact-checked against official government publications and updated regularly to reflect the latest requirements.
- [1]