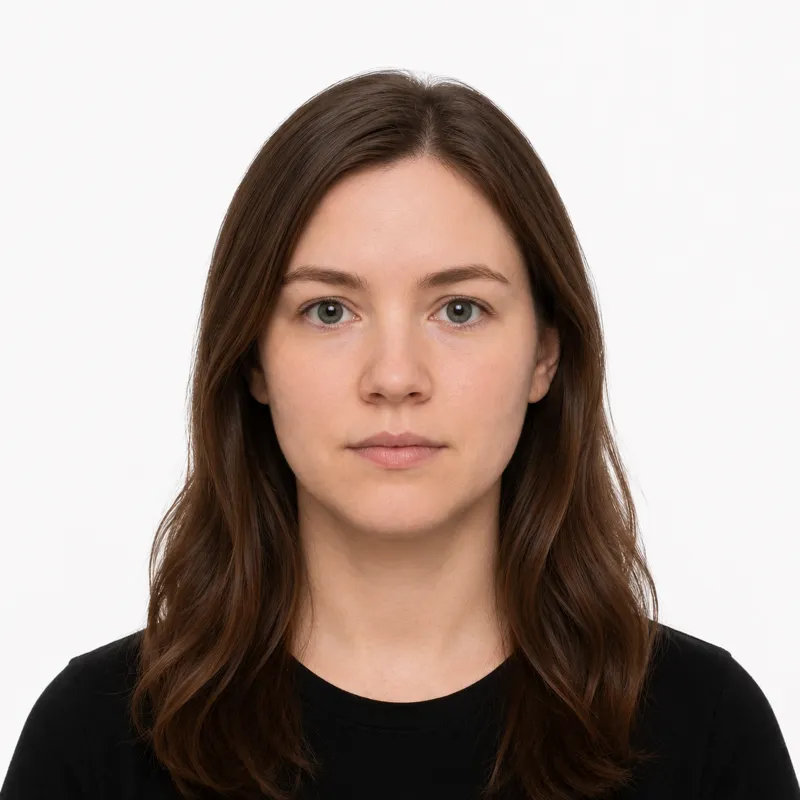
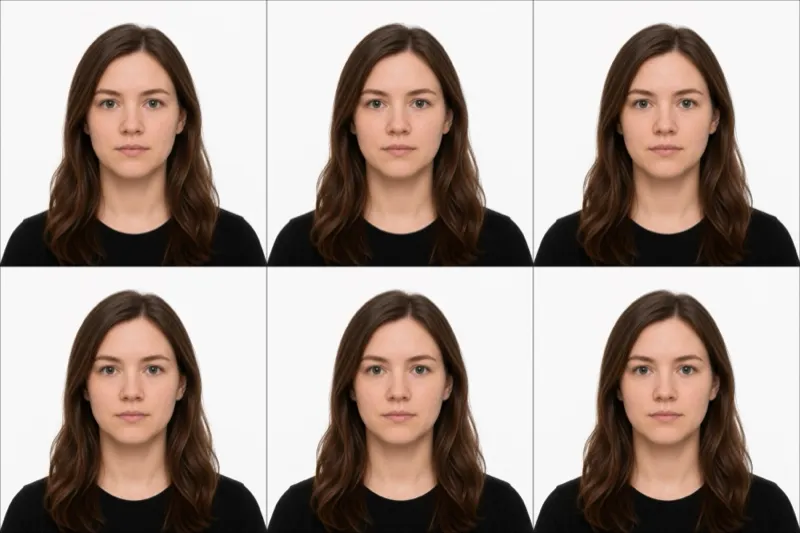
When you apply for a Swiss passport, you book an appointment at the passport office (the Ausweiszentrum or centre de biométrie) run by your canton. At that appointment the office takes your photo and your biometric data, fingerprints and signature included, on the spot. This is the part that surprises people who have applied for passports elsewhere: for the standard Swiss passport you do not normally bring your own photo and hand it over. The office captures it under controlled lighting against the correct background, then prints it into the document. So before you spend time getting a photo made, check what your canton expects, because in most cases the photo is part of the in-person appointment rather than something you supply.
That said, a photo specification still matters in a few situations. Some cantons accept a recent compliant photo brought from a studio, applications from abroad through a Swiss representation may require you to supply one, and a photo to the same standard is sometimes asked for alongside other paperwork. For those cases, here is what a compliant image looks like.
The official requirements
A Swiss passport photo follows the biometric standard used across Schengen. The core points:
- Size: 35×45 mm, portrait orientation
- Head height: roughly 32–36 mm from chin to crown, filling about 70–80% of the frame
- Background: plain and light, evenly lit, with no shadows or pattern behind the head
- Expression: neutral, mouth closed, looking straight at the camera with both eyes open
- Glasses: best avoided; if worn, the frames must not cover the eyes and there must be no reflection or tint
- Recency: taken within the last 6 months and reflecting your current appearance
- Sharpness and colour: in focus, in natural colour, not over- or under-exposed
Cantonal practice varies, so treat the appointment-capture route as the default and confirm any photo you bring meets your canton’s exact rule before relying on it.
How to take a compliant photo
For the standard route you do not take this photo at all, the office does, so the most useful preparation is about how you turn up rather than how you shoot. Arrive looking the way you do day to day, with your hair off your face and your eyes clearly visible. Skip heavy makeup that changes your features, and if you wear glasses every day, be ready to remove them for the capture, since reflections off lenses are one of the easiest ways to spoil a biometric photo.
If your situation is one of the exceptions where you do supply an image, the same fundamentals apply that any studio would follow. You want flat, even light coming from the front so there are no shadows under the eyes or on the background, a plain light backdrop with space between you and it, and the camera held at eye level a short distance away rather than up close, which distorts the face. Keep your head straight and level, shoulders square, expression neutral. Then the picture has to be cropped to 35×45 mm with the head sized correctly inside the frame, which is the step most home attempts get wrong. Given that the office captures the photo for you anyway, going to a studio that knows the biometric standard is usually the simpler path for the rare case you need to bring one.
Why photos get rejected
When a supplied photo is rejected, or when an office capture has to be redone, it is almost always one of these, each with its fix:
- Glasses reflection or tint: light bouncing off the lenses, or shaded lenses hiding the eyes. Remove the glasses for the photo.
- Head too large or too small: it should fill roughly 70–80% of the frame. Re-frame or re-crop so the chin-to-crown height lands in range.
- Shadows: under the eyes or on the background behind you. Light the face evenly from the front and step away from the backdrop.
- Hair across the face: clear it so both eyes and the full face outline are visible.
- Non-neutral expression: a wide smile or open mouth. Relax the face, keep the mouth closed.
- Tilted or turned head: face the camera squarely, head level.
- Old photo: it must be recent and match how you currently look.
What to wear (and not wear)
There is no dress code, but a few choices reliably cause trouble whether the photo is captured at the office or brought from a studio.
Avoid: hats, caps, and anything covering the hairline; headphones or earbuds; glasses if you can manage without them; and a very pale top that can wash out against a light background. A darker, solid-coloured top reads more cleanly.
Fine: ordinary everyday clothing, light everyday makeup that does not change your look, and religious head coverings worn for religious reasons, provided the full face from forehead to chin stays visible. Hearing aids and similar everyday medical devices are fine.
Where to get your photo
For a Swiss passport the realistic options are narrower than for documents you photograph yourself, because the standard process produces the photo for you. Here is how the routes compare:
| Where | Cost | When it applies | Notes |
|---|---|---|---|
| Cantonal passport office (appointment) | Included in the passport fee | The standard route | Photo and biometrics captured on-site; nothing to bring |
| Professional photo studio | Varies by studio | When your canton or a representation abroad asks for a supplied photo | Knows the biometric standard; ask for a recent compliant print or file |
For the great majority of applicants the first row is the answer, and there is no photo to obtain in advance. An online crop-and-check tool can help only in the narrow case where you have been told to supply your own digital image and already have a suitable shot, and even then a studio that meets the biometric standard is usually the safer choice. If you are unsure which applies to you, ask your cantonal office before paying for any photo.
Submitting your photo
How a photo reaches the passport depends entirely on the channel.
In-person appointment (the standard route): You book a slot at your canton’s passport office and attend. The office captures the photo, fingerprints, and signature together, so there is nothing to upload or hand over. This is how most Swiss passports are issued.
Applications from abroad: If you apply through a Swiss embassy or consulate, the representation tells you whether biometrics are captured at the mission or whether you must supply a compliant photo, and in what format. Follow their instructions exactly, since requirements differ between locations.
A photo brought from a studio: Where a canton accepts one, you hand the print over at the appointment. Confirm in advance that your canton allows this and that the photo meets the current biometric standard, because an out-of-spec photo will simply be re-taken on-site.
Ready to skip the studio?
Upload a selfie and get a compliant photo in 2 minutes.
Sources & References
This guide is fact-checked against official government publications and updated regularly to reflect the latest requirements.
- [1] fedpol — Swiss passport and identity cardfedpol.admin.ch